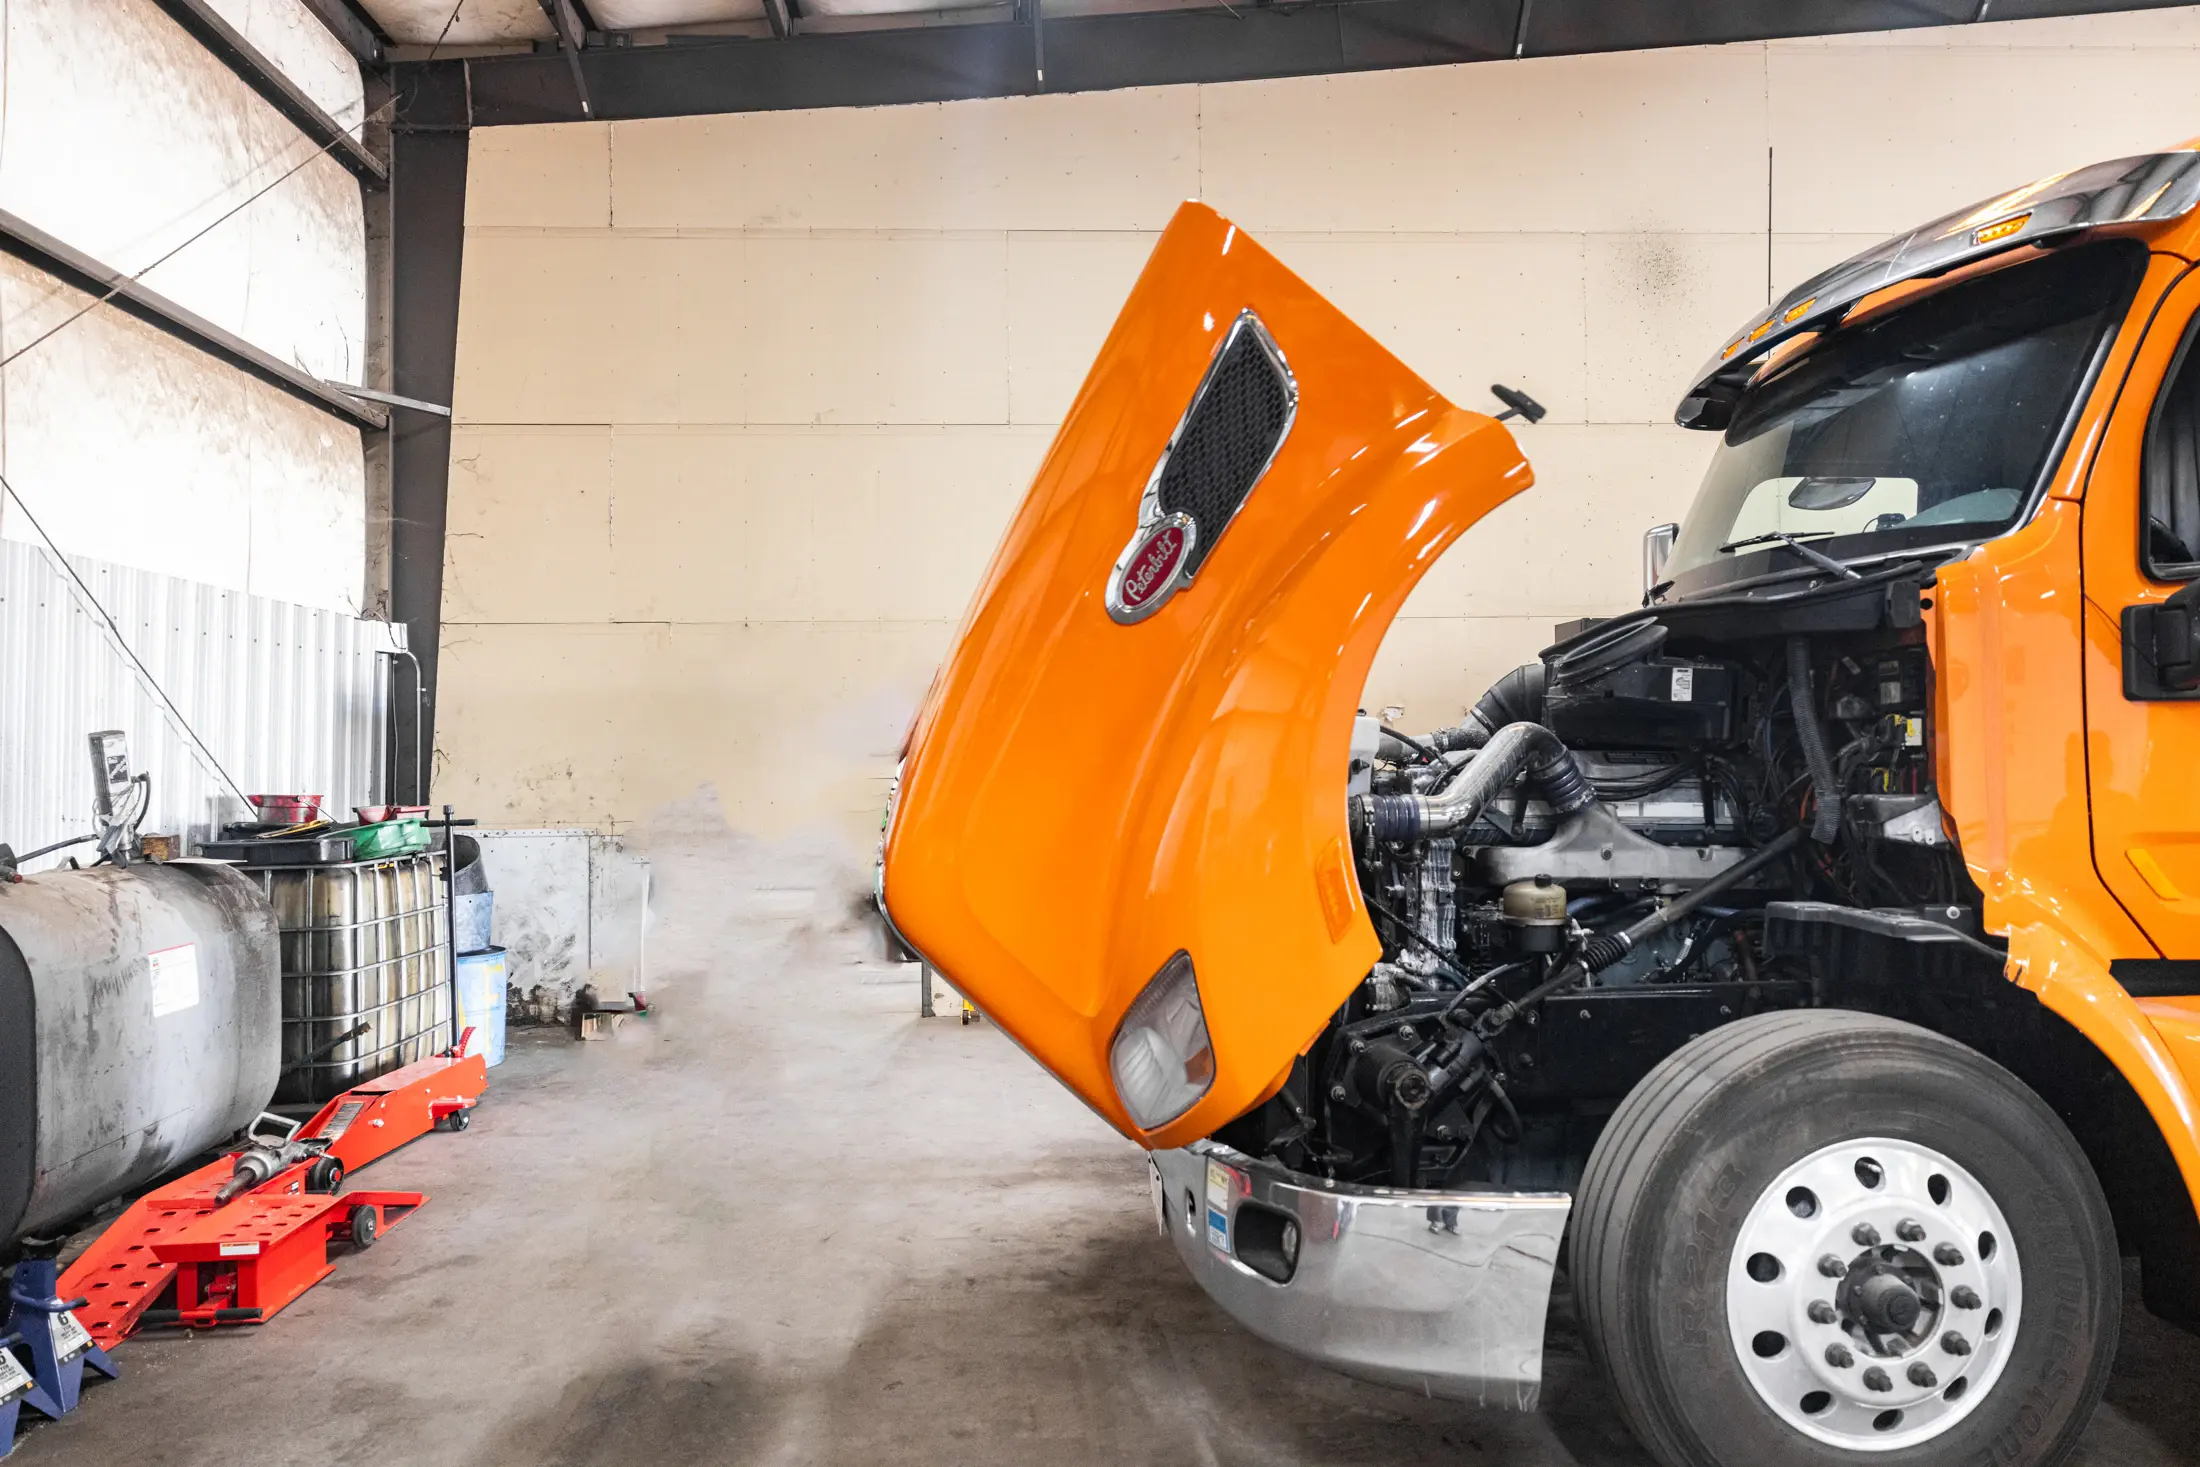
How to Troubleshoot Hydraulic Leaks on Site
How to Troubleshoot Hydraulic Leaks on Site
A hydraulic leak can stop a truck, lift gate, trailer, boom, or piece of construction equipment at the worst possible time. Knowing how to troubleshoot hydraulic leaks quickly helps protect your crew, prevent component damage, and avoid turning a minor seal failure into a costly downtime event.
The goal is not to simply find wet oil and tighten the closest fitting. Hydraulic systems operate under high pressure, and the visible leak is not always the actual source. A disciplined inspection identifies where fluid is escaping, why it escaped, and what must be corrected before equipment returns to work.
Start With Safety, Not the Leak
Pressurized hydraulic fluid can penetrate skin, even through a pinhole leak. This is a medical emergency that requires immediate treatment. Never run your hand along a hose, fitting, cylinder, or valve body to search for a leak. Do not use your fingers to check for spray.
Park the equipment on stable ground, lower supported attachments, set the parking brake, shut down the engine, and release hydraulic pressure according to the manufacturer’s procedure. Wear safety glasses and gloves rated for the work. Let hot components cool before inspection.
If a leak must be checked while the system is operating, keep people clear of moving components and use cardboard or a piece of wood to detect spray patterns. Never use your body. A fine mist or dark line on the cardboard can reveal a pinhole that is difficult to see directly.
Clean the Area Before You Diagnose It
Oil travels. A leak at the top of a cylinder can run down the rod, collect at the base, and make it appear that the lower seal is failing. A hose leak can coat nearby fittings, clamps, and frame rails. Diagnosing from a dirty system often leads to unnecessary parts replacement.
Clean the suspected area with an appropriate degreaser or shop cleaner, then dry it completely. Inspect the system at rest first. Next, operate the affected function through its normal range while maintaining a safe distance. Watch for fresh fluid, not old residue.
For slow leaks, a UV hydraulic dye and inspection light can be useful when approved for the system. This is especially helpful on fleet trucks with crowded pump compartments, lift gates, power take-off systems, or equipment that only leaks under load.
How to Troubleshoot Hydraulic Leaks by Location
The location and pattern of fresh fluid usually narrow the cause quickly. Start at the highest clean point where oil first appears, then work outward.
Hoses and Hose Ends
Hoses commonly fail from abrasion, age, heat exposure, improper routing, twisting, or pressure spikes. Look for wet spots, cracks, blisters, exposed reinforcement, flattened sections, rubbing marks, and seepage near the crimped ends.
A hose that rubs against a frame rail or bracket may leak long before it bursts. Replacing the hose without correcting the routing or adding proper protection only sets up the same failure again. Check clamps, protective sleeves, and clearance through the full travel of the equipment.
At the hose end, determine whether fluid is coming from the fitting connection or from the crimp itself. A leak at the crimp normally calls for hose assembly replacement. Do not attempt to clamp, tape, or patch a high-pressure hydraulic hose for continued service.
Threaded Fittings and Adapters
A fitting leak may be caused by a loose connection, damaged threads, a cut O-ring, the wrong fitting type, or an incorrectly seated flare. It is not always a tightening problem.
Before applying a wrench, identify the fitting style. JIC, O-ring face seal, NPT, metric, and other hydraulic fittings seal differently. Over-tightening can distort a flare, crush an O-ring, crack an adapter, or damage threads. If the fitting uses an O-ring, inspect and replace the seal rather than relying on extra torque.
Thread sealant belongs only on fittings designed to seal on threads. It does not belong on JIC flare threads or O-ring sealing surfaces. Incorrect sealant can enter the hydraulic system and create contamination problems downstream.
Hydraulic Cylinders
A wet cylinder rod, fluid around the gland, or oil collecting at the rod end usually points to a rod seal or wiper issue. Before assuming the seal kit is the only repair, inspect the rod carefully. Pitting, rust, scoring, bends, and impact damage can destroy a new seal quickly.
Check the cylinder barrel, ports, gland, and mounting points as well. A damaged port fitting, cracked weld, loose gland, or side-loaded cylinder can create leaks that resemble seal failure. If the cylinder is drifting, moving unevenly, or leaking internally as well as externally, it may need a more complete inspection and rebuild.
Pumps, Valves, and Hydraulic Motors
Leaks around a pump shaft may indicate a failed shaft seal, but excessive case pressure, misalignment, worn bearings, or a restricted return path can be the underlying cause. Replacing the seal alone may provide only a short-term result.
Valve bodies and hydraulic motors can leak from plugs, O-rings, cover plates, case drains, or cracked housings. Clean the area and inspect closely while the affected circuit operates. On equipment with multiple hydraulic functions, isolate the function that causes the leak. That detail helps separate a supply-side problem from a component-specific failure.
Check Fluid Level and System Condition
A visible leak can lead to a second problem: low hydraulic fluid. Low fluid can cause noisy pump operation, aeration, overheating, slow response, erratic movement, and accelerated wear. Check the level using the manufacturer’s specified procedure, since some reservoirs must be checked with cylinders retracted or at a specific operating temperature.
Also inspect the fluid itself. Milky oil can indicate water contamination. Foamy oil may point to air entering through a suction-side connection, low fluid level, or return-line issues. Burnt odor and darkened fluid can signal overheating. Metallic debris or abnormal contamination requires more than leak repair. The system may need further diagnosis before putting expensive components at risk.
Use only the hydraulic fluid specified for the equipment. Mixing fluids without confirming compatibility can affect seals, viscosity, additives, and system performance.
Find the Cause Before Replacing Parts
Hydraulic leaks often return because the repair addressed the symptom but not the cause. A new hose can fail if it is routed against a sharp edge. A new cylinder seal can fail if the rod is scored. A fitting may keep loosening if vibration, poor support, or an incorrect adapter is present.
Look for the conditions surrounding the leak: excessive vibration, loose mounting hardware, damaged clamps, heat sources, improper hose length, overpressure, external impact, corrosion, or a recent repair. Ask when the leak started and what was happening when it appeared. A leak that occurs only when a dump body raises, a boom extends, or a lift gate is under load provides useful diagnostic direction.
Pressure testing may be necessary when no external leak is obvious or when repeated failures suggest a system problem. This work requires the correct gauges, fittings, procedures, and safety controls. High system pressure, relief-valve issues, and restricted return flow can damage hoses, seals, pumps, and valves.
Repair Decisions: Tighten, Reseal, Replace, or Schedule Service
A clean, correctly identified fitting with a damaged O-ring may need only a new seal and proper torque. A chafed hose, failed crimp, cracked fitting, scored cylinder rod, or damaged component should be replaced or professionally repaired. The right decision depends on the component’s condition, system pressure, equipment duty cycle, and the consequences of another failure.
Avoid temporary repairs on hydraulic lines that operate under pressure. A quick fix may get equipment moving briefly, but it can also create a safety hazard, cause a larger spill, and leave a truck or machine down farther from the shop.
After repair, refill the system as needed, remove trapped air according to manufacturer procedures, and cycle the affected function slowly. Recheck every repaired connection under normal operating conditions. Clean the area one more time and inspect for fresh seepage before releasing the unit.
Prevent the Next Hydraulic Leak
Preventive inspections are usually faster and less expensive than responding to a breakdown. During routine fleet maintenance, inspect hoses for rubbing and weathering, check clamps and fittings, look for cylinder rod damage, verify fluid level and condition, and address small leaks before they spread across the system.
For working fleets and contractor equipment, record repeat leak locations. If the same hose, cylinder, or valve fails more than once, there is likely a routing, pressure, contamination, or operating-condition issue worth correcting.
When a hydraulic leak puts a truck, trailer, lift gate, or job-site machine out of service, a qualified mobile technician can diagnose the failure where the equipment sits. Mobile Fleet Services supports commercial vehicles and equipment across the Florida Panhandle, helping crews make sound repair decisions without adding unnecessary towing and shop delays.
A clean inspection, safe pressure control, and a repair that addresses the actual cause will keep a small hydraulic leak from becoming the next missed delivery, stalled job, or extended equipment outage.
Testimonials
Contact & Location
24/7 emergency dispatch — we're ready when you need us.